As it's the first of the month it means we have a brand new challenge over at AAA Birthday challenge. This month's theme is 'use die cuts' and our guest designer this month is Caroline so please pop over to her blog and leave her some love.


The Design Team have created amazing cards as always so please pop over to the blog and check them out and perhaps leave them some love on their personal blogs.
I hope you will be able to join in with the challenge this month but don't forget it has to be birthday themed. I can't wait to see your creations in the linky.
Love and hugs,


Now I know we all love our die cuts and this is going to be a very popular challenge I think. I recently bought one of the new dies that came out in the Lawn Fawn release so I used that on my card this month. I made a square card as that suited the shape of the die and I think it turned out really pretty. I hope you like it too.
Here is my card:

a closer look at the details:

Plus I decorated the inside:

I began by making my card base; I cut a 10" x 5" piece of white card and scored it on the long side at 5" to create my 5" x 5" card base. I then grabbed lots of coloured card from my scraps bin and die cut all the elements for the butterfly wreath (I die cut the wreath three times for some extra stability, twice from green and once from white). I found a tiny scrap of glitter card so used that for the flowers to add a bit of sparkle. I adhered all the pieces together with liquid glue. I took the white centre piece and stamped the sentiment in black ink before adding it back into the middle with liquid glue. I wanted a subtle background but didn't want to leave it white so I searched through my paper pads and found this off white 'plank' design that I like and cut a piece 4 1/2" square and also a mat layer from the same green card as the wreath. I adhered them together with double sided tape. I added the wreath to the background with liquid glue. As I had a small piece of the glitter card left I decided to cut some small circles to use as embellishments and adhered them with liquid glue. For the inside I cut a white panel 4 1/2" square and added it to a green mat layer with double sided tape. I added a strip of the patterned paper to the bottom with liquid glue and stamped a sentiment in the centre with black ink. I also die cut an additional 3 butterflies and added them with liquid glue.
I would like to enter my card into the following challenges:
613 Avenue Create challenge - ATG optional twist things with wings
As You Like It challenge - favourite colour (I love a rainbow of colours and use this colour combo at lot!) Please delete my entry if not appropriate
Cardz 4 Galz challenge - wings
Classic Design challenge - ATG optional twist blooms or butterflies
Crafter's Cafe challenge - for the girls
Critter Crazy challenge - ATG with a featured critter
Dragonfly Dreams challenge - butterflies
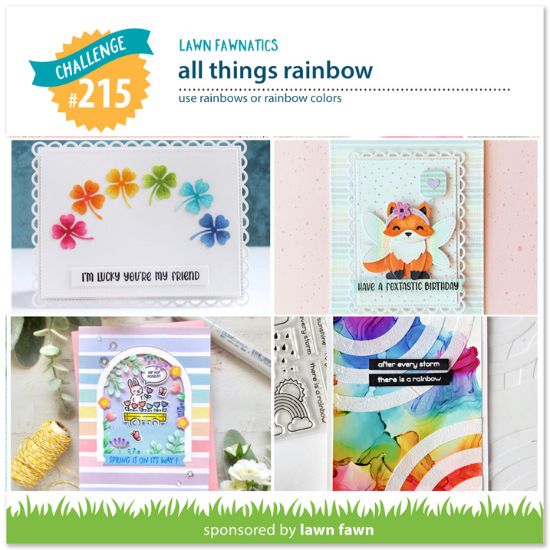
Lawn Fawnatics challenge - #215 all things rainbow
Little Red Wagon challenge - L is for leftovers (all the coloured card is from my scraps bin)
Mix It Up challenge - ATG + optional die cuts
I hope you will be able to join in with the challenge this month but don't forget it has to be birthday themed. I can't wait to see your creations in the linky.
Love and hugs,

card supplies:
Lawn Fawn - magic iris butterfly wreath add on
*Gina K Designs - perfect posy mini stamp (for outside sentiment)
Gina K Designs - friendly wishes mini stamp (for inside sentiment)
Gina K Designs - lots of dots die set (to make my embellishments)
Mintay papers - basic book 1 - backgrounds white
coloured card & glitter card from scraps bin
Versafine Clair - nocturne ink pad
*I now have an Affiliate Link for the Gina K Designs store. If you are considering making a purchase I would appreciate you using my link as it will earn me a small commission at no extra cost to you.
Thank you x

Thank you x


.png)
